25.01.02
Introduction
We rolled out an update for our shipping software in UAT, PIYOVI version v25.01.02, on January 28th, 2025.
Below, you will find the release topics and details.
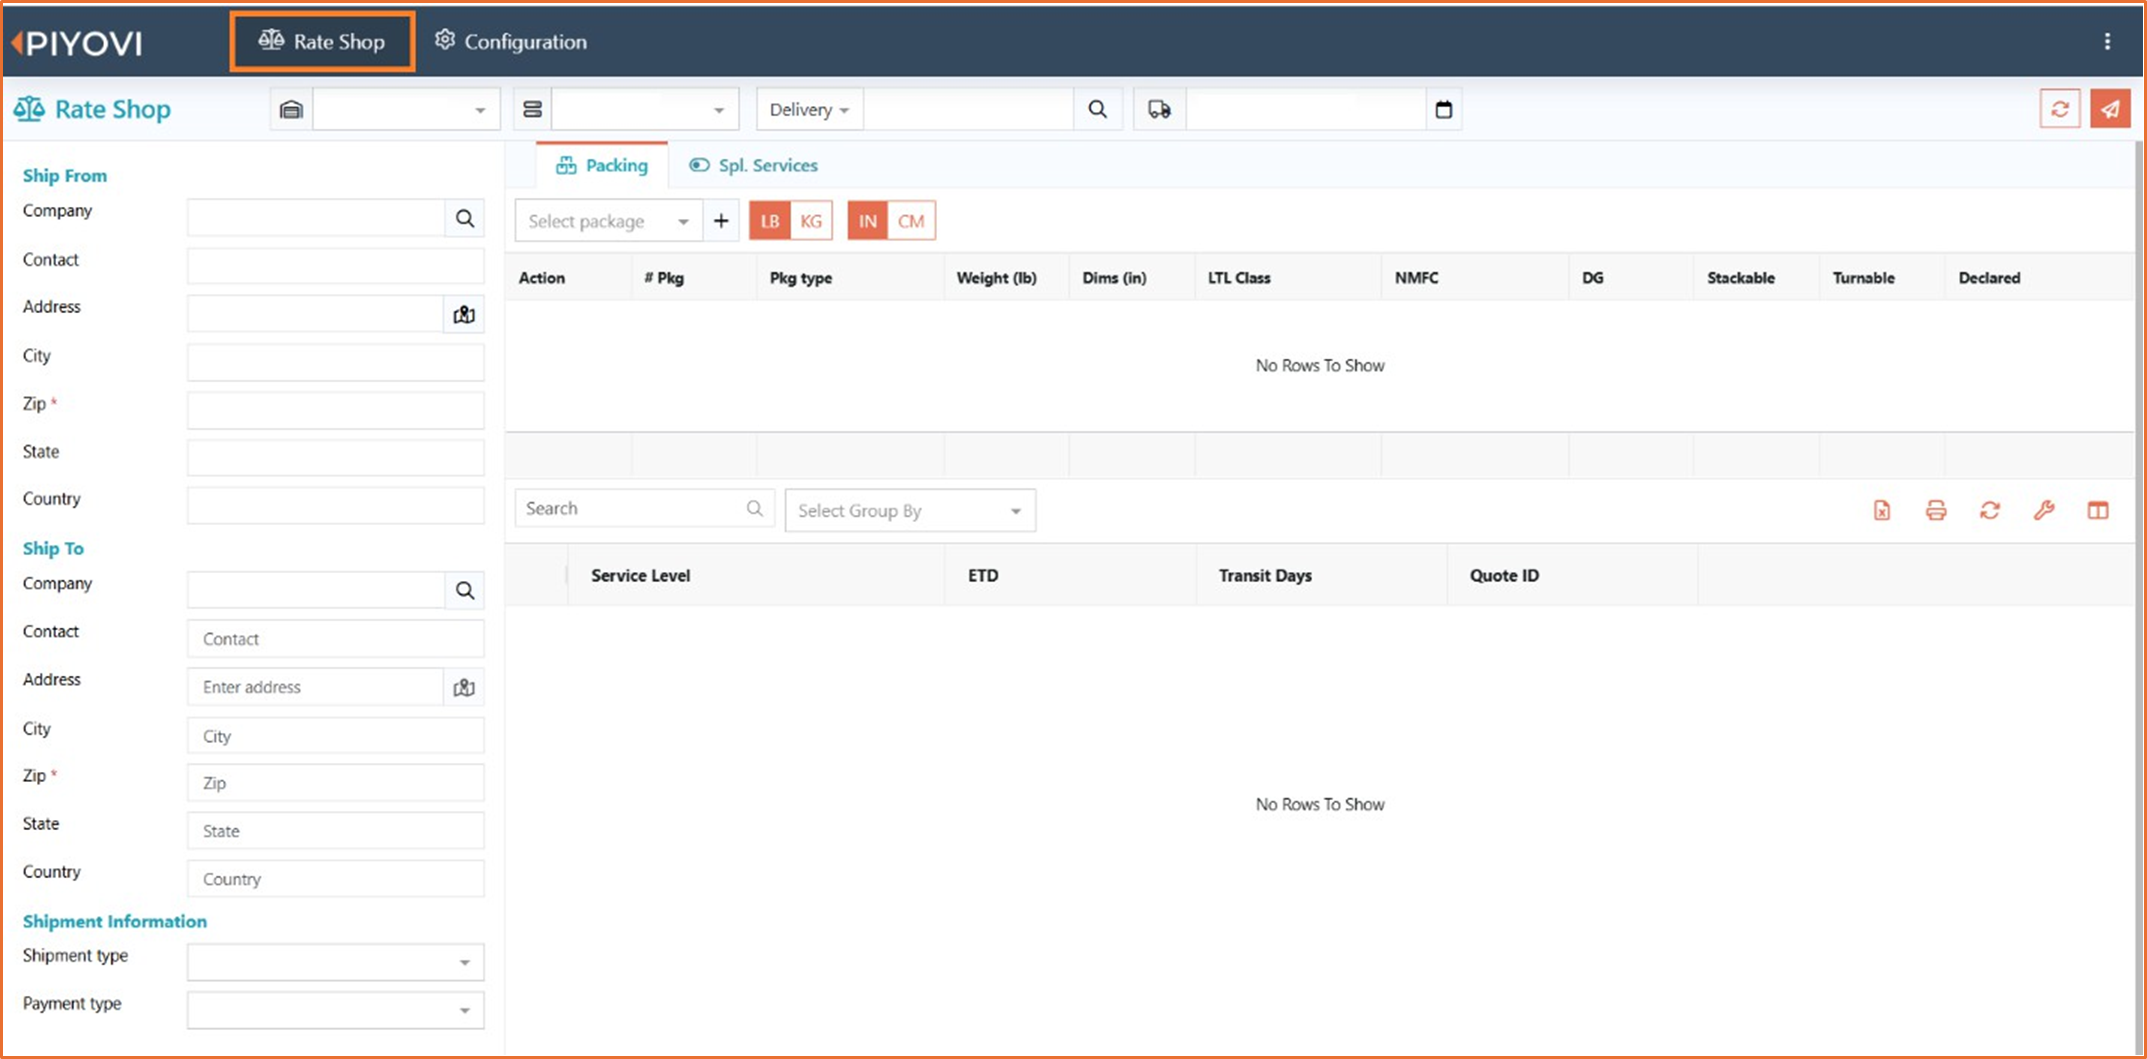
1. Rate Shop with Multiple Accounts
We have introduced the ability to perform rate shopping using multiple accounts. Previously, the system defaulted to using the first account for rate shopping.
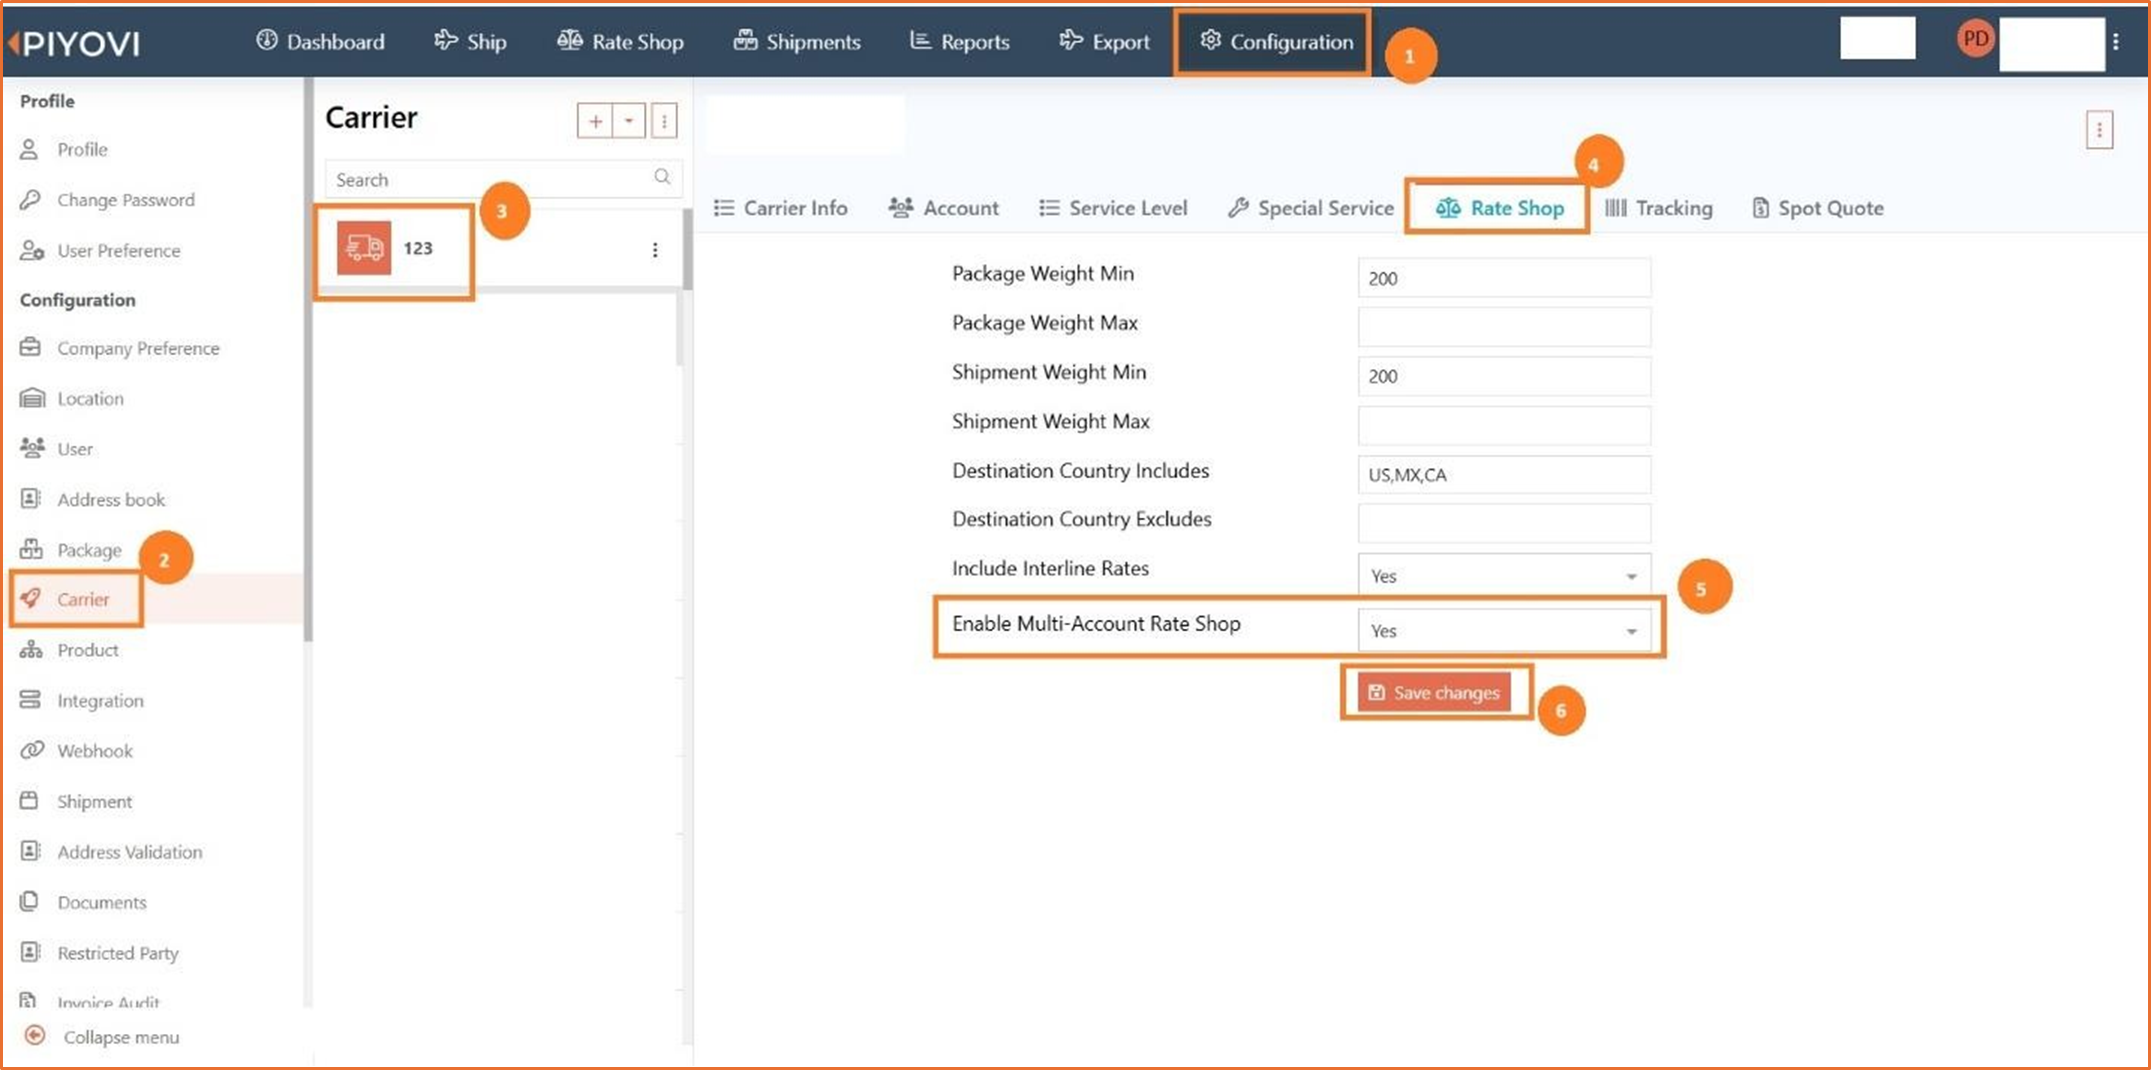
Configuration Update
To enable Multi-Account Rate Shop functionality, follow these steps:
- Navigate to the Configuration section.
- Go to Carrier settings.
- Select the carrier for which you want to configure multiple accounts for rate shopping.
- Access the Rate Shop tab.
- Set the Enable Multi-Account Rate Shop option to Yes.
- Click on Save Changes.
Enhancements
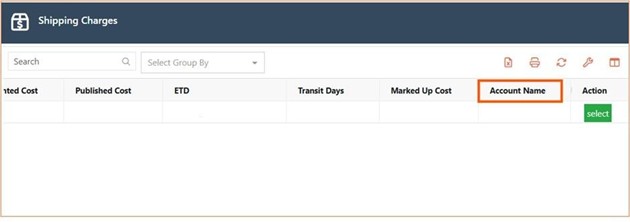
Ship Screen:
- In the Compare Options section, add Account Name from Column Options.
- Users can now view and compare rates based on account names directly within the Ship screen.
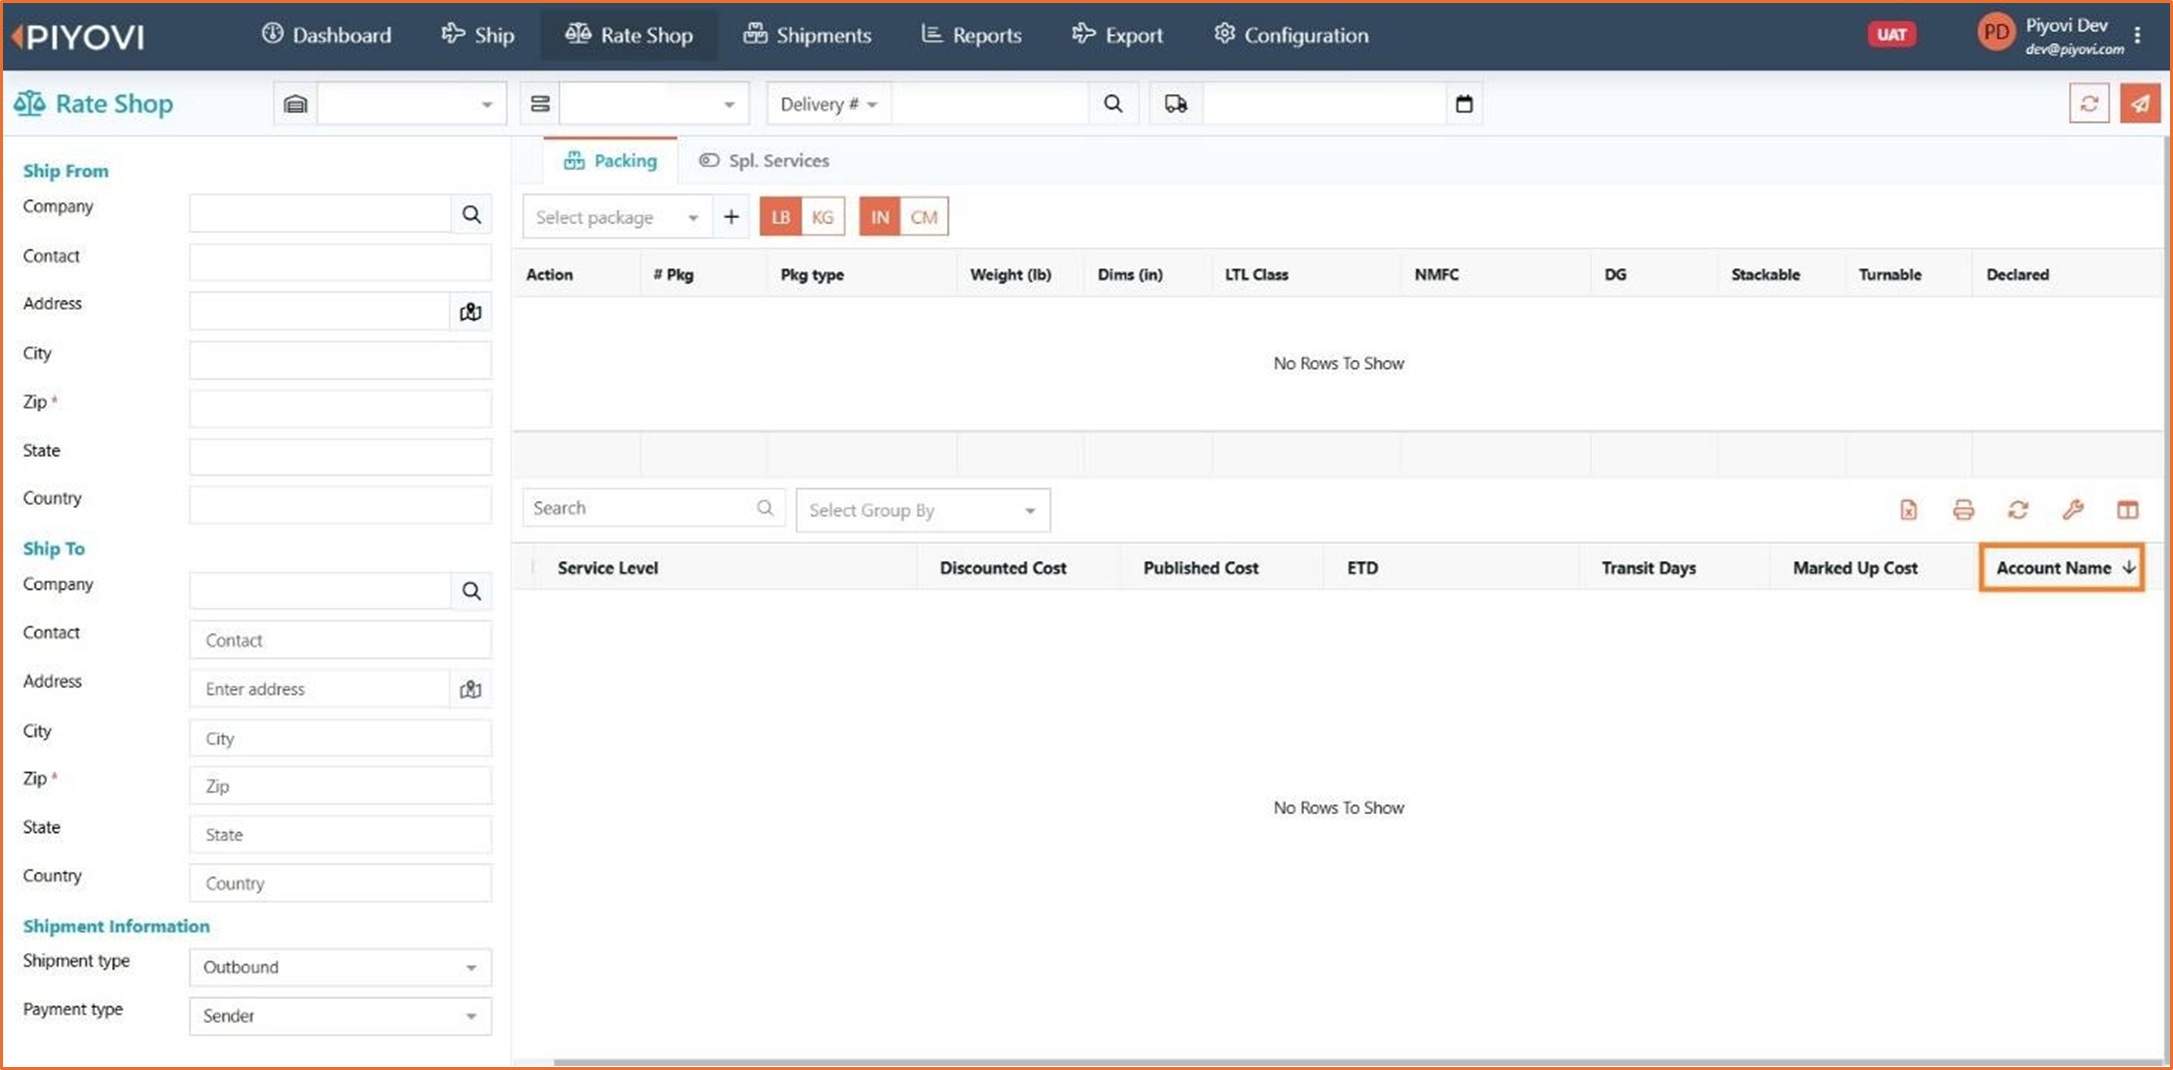
Rate Shop Screen:
- Account Name column added from Column Options.
- This column allows users to select and compare rates for specific accounts associated with the same carrier.
2. Enhanced Email Auto-Suggestions for Documentation
We have introduced a contact and email suggestion feature for documents when emailing. As you type, the system automatically suggests names and email addresses from the address book, making it easier to select the correct contact or email ID. This streamlines recipient identification and ensures accurate email selection, eliminating the need for manual entry. Additionally, the system still allows users to manually add email addresses that are not in the address book.

3. Single Sign-On Configuration and Management
This feature restricts new users to logging in through Single Sign-On (SSO). Additionally, administrators can update SSO settings for existing users as needed. Enforcing SSO enhances security by centralizing authentication and reducing reliance on individual credentials.
Steps to Configure
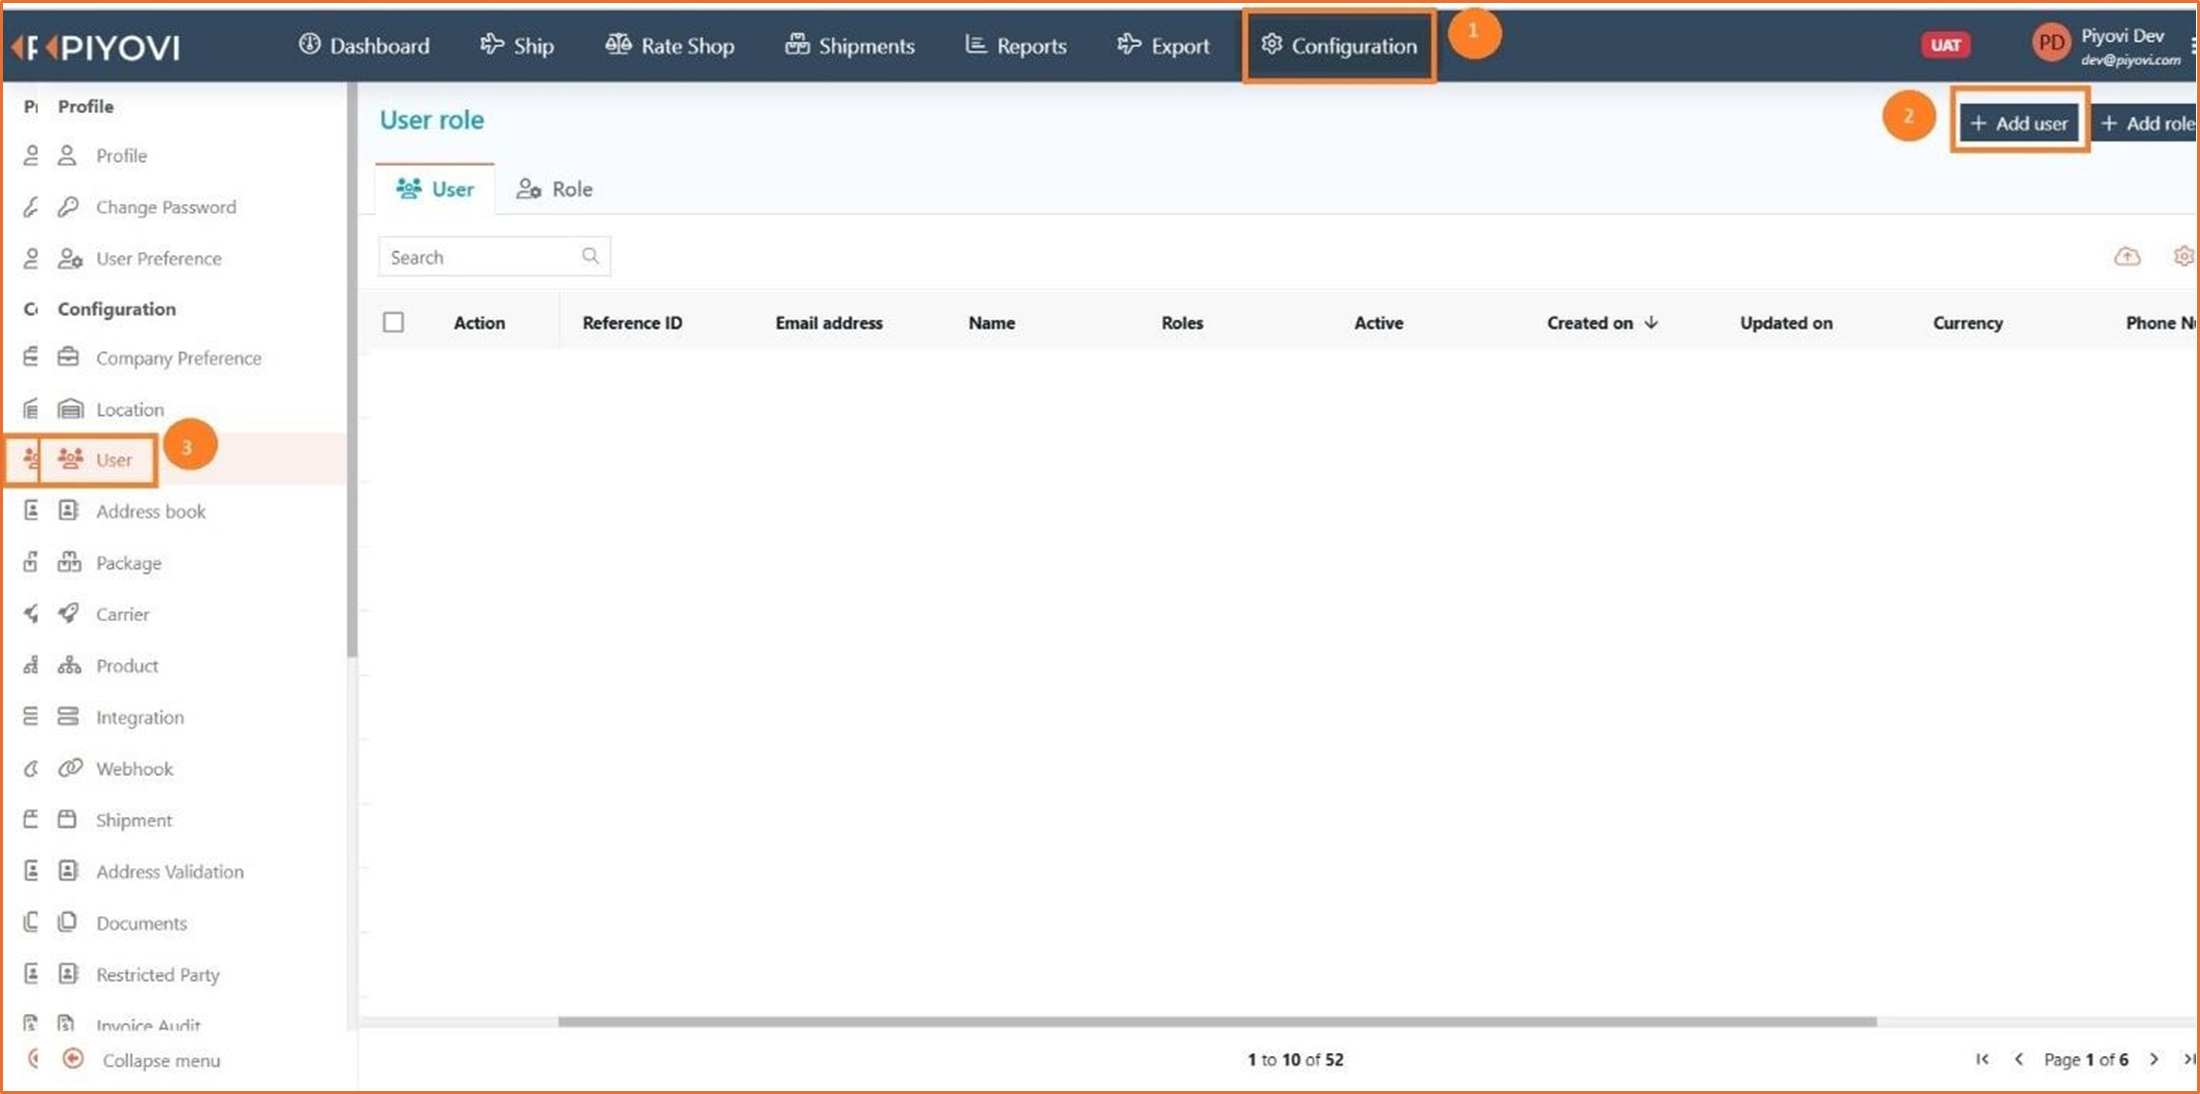
To enable SSO for a new user:
- Navigate to Configuration.
- Select User from the right-hand side.
- Choose Add User to create a new user.
- Proceed to the Settings tab.
- Set Enforce Single Sign-On to Yes.
- Click Save to apply the settings.

To modify SSO settings for an existing user:
- Navigate to User Configuration.
- Select the user you wish to edit.
- Update the Enforce Single Sign-On setting.
- Save the changes.
4. User Permission – Rate Shop
We have enhanced the permission module to improve user access control and flexibility. Administrators can now assign specific permissions to user groups based on their roles, restricting access to only the Rate Shop tab.