25.01.01
Introduction
We rolled out an update for our shipping software, PIYOVI version (v25.01.01), on January 8th, 2025. Below are the details of the updates included in this release.
1. Shipment Filter – Location Group
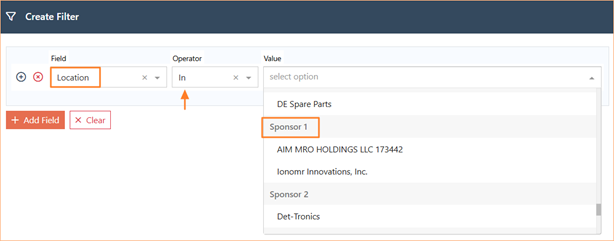
We have enhanced the shipment filter functionality by introducing the ability to filter locations by groups in addition to individual locations. If your workflow requires grouping certain locations together, you can now assign a name to those locations, group them, and use that group for filtering. Please note that the group filter works exclusively with the “In” operator.
How to Use:
- Navigate to the shipment filters.
- Select the Field as "Location."
- Use the Operator (e.g., "In") to set the condition.
- Select the desired Group ID(s) from the list.
- Run or save the filter to apply the criteria.
2. Interline Rates in Rate Shop and Ship Screen
This release introduces a new configuration option in the Carrier Configuration Rate Shop Settings to manage the inclusion of Interline Rates in both the Rate Shop and Ship Screen. Users now have the flexibility to toggle the display of Interline Rates, offering greater control over rate visibility.
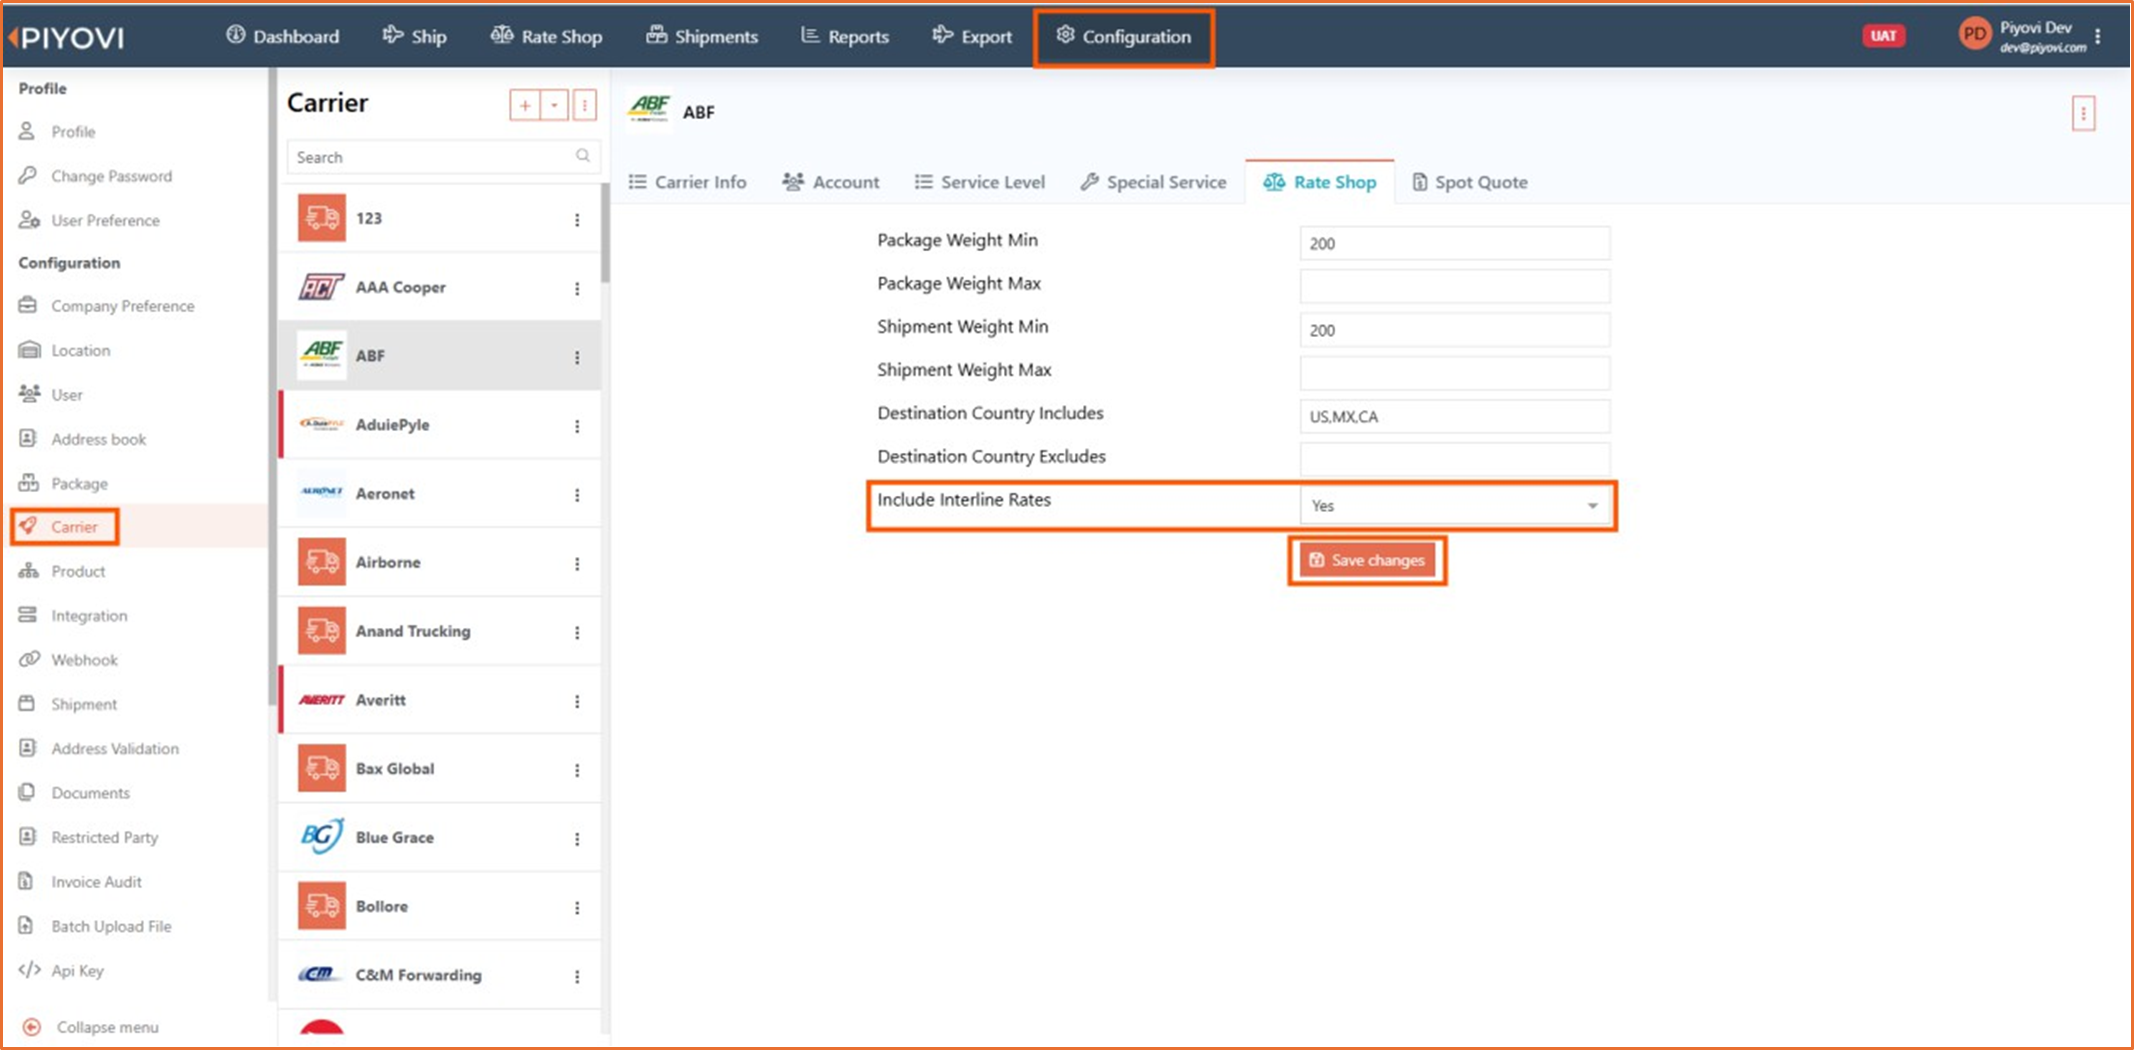
Configuration Path:
Configuration > Carrier > Rate Shop > Include Interline Rates
In the Carrier Configuration Rate Shop Settings, the Include Interline Rates field determines the visibility of interline information for carriers:
- If the field is set to Yes, the interline information for carriers is displayed in both Rate Shop and Ship Screen.
- If the field is set to No, the interline information for carriers will display as empty in both Rate Shop and Ship Screen
3. User Configuration: Limited to Carrier
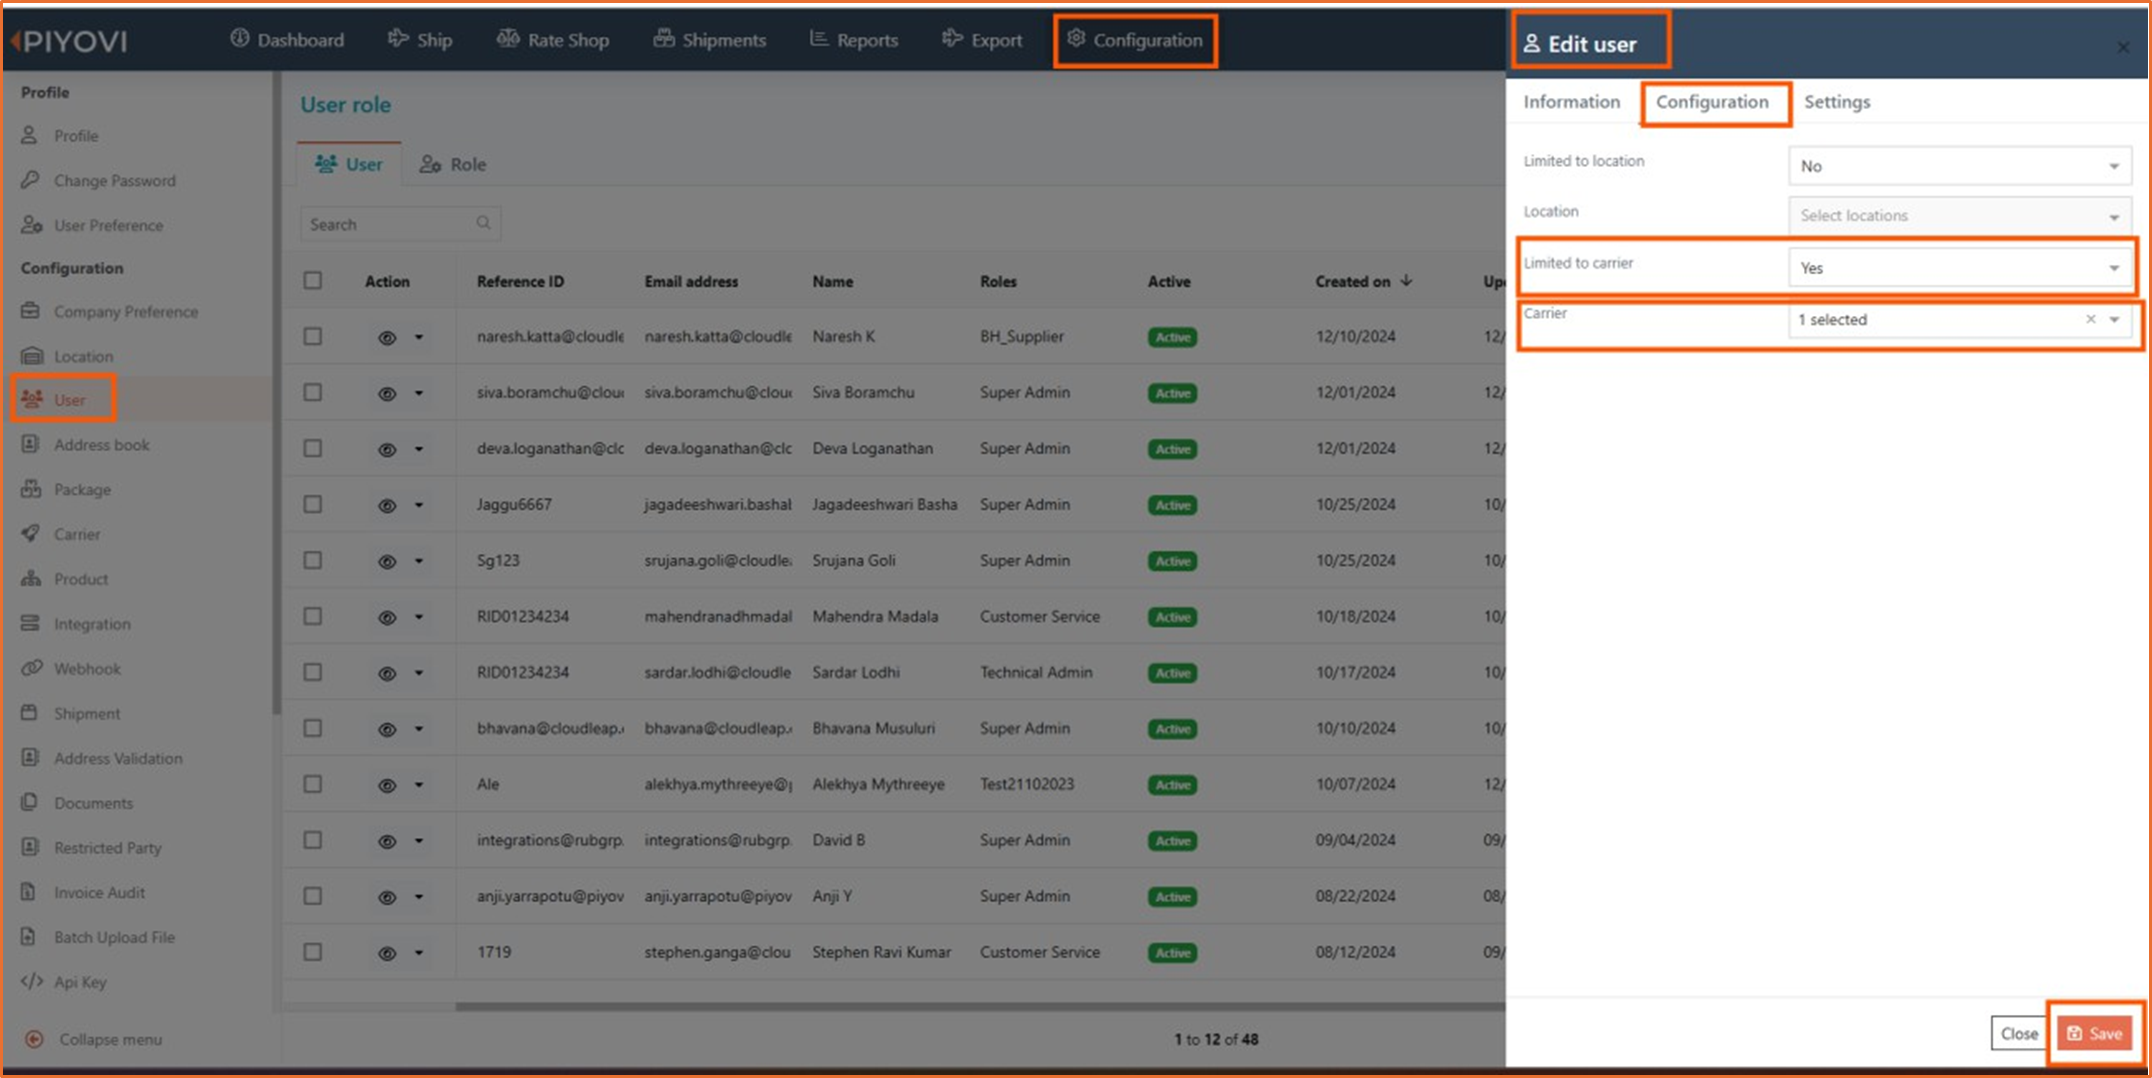
We have introduced the Limited To Carrier concept, complementing the existing Limited To Location feature in user configuration. With this update, shipments displayed in the system will now be restricted based on the carriers specified in the user’s allowed carriers list.
Steps to Configure:
- Navigate to the User Configuration screen.
- Enable the Limited to Carrier option.
- Select desired carriers from the list.
- Save the configuration and validate functionality in the shipments tab
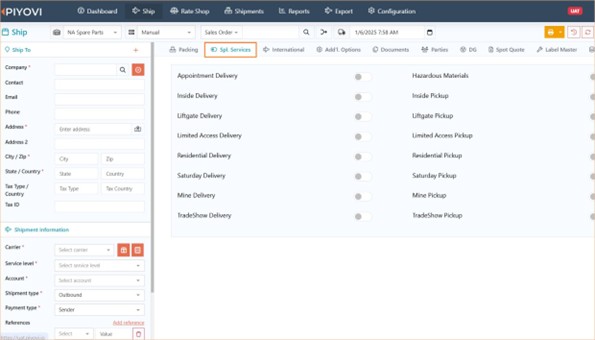
4. Rate Shopping Filtering Based on Special Services
We have improved the rate shopping functionality to enhance relevance and usability. Previously, selecting special services would still display all carriers configured for the location, regardless of whether they supported those services. Now, only carriers that provide the selected special services are displayed, ensuring more relevant and streamlined rate shopping results.
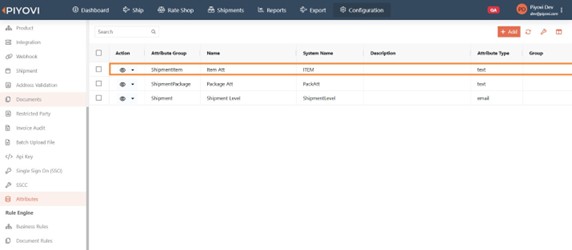
5. Attributes Documentation
Creating Custom Attributes Custom attributes allow you to capture specific data at different levels (Shipment, Item, Package) within the system. These attributes can then be displayed in the Ship Screen for data entry.
Existing Functionality
Creating a Shipment Level Custom Attribute:
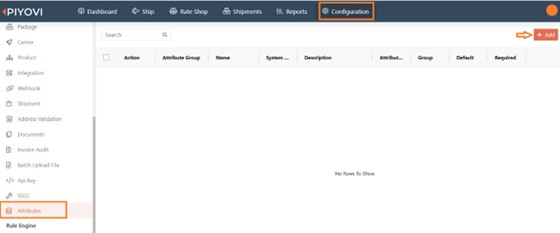
- Navigate to Configuration > Attribute > Add Attribute.
- Enter details:
- Name: Provide a unique name for the shipment-level custom attribute.
- Description: Describe the attribute's purpose.
- Data Type (Text, Date, Number): Choose the appropriate data type (e.g., Text, Date, Number).
- Validation Rules: Define any validation rules for the field (e.g., required, unique).
- Save the attribute.


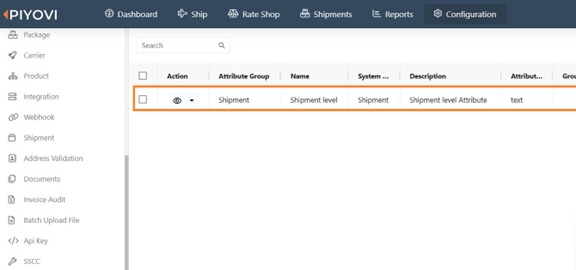
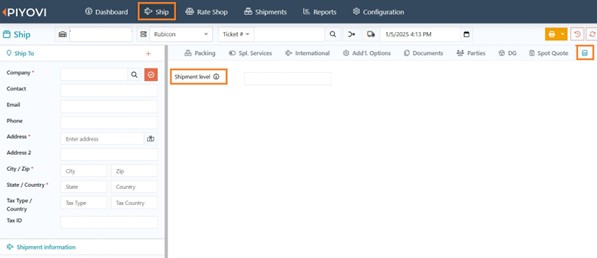
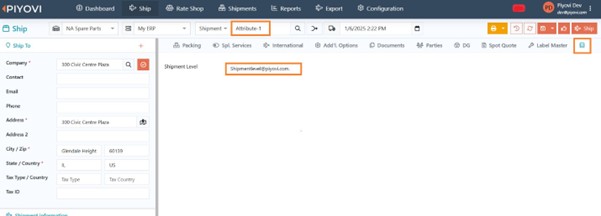
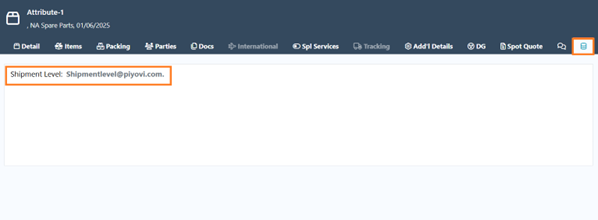
Outcome: The newly created shipment-level custom attribute will appear in the Attributes of the Ship for data entry during shipment creation. After processing the shipment, the attribute will be visible in the Ship 's Attribute.
Updated Functionality
We have now implemented custom Attributes at the package and Item level.
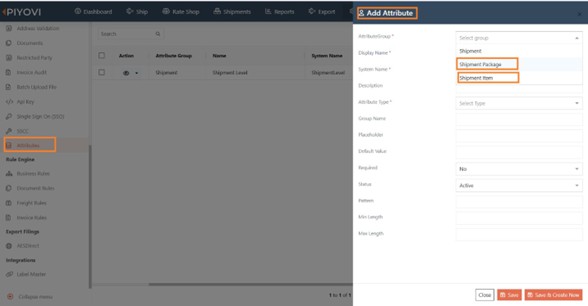
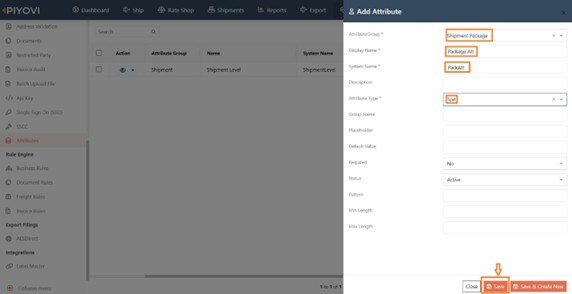
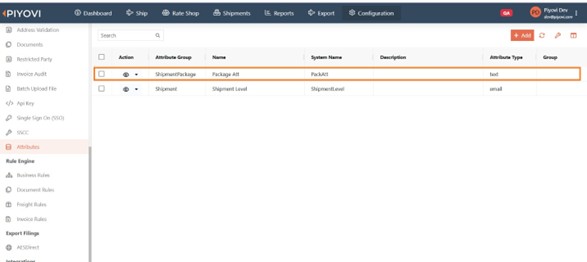
Creating a Package Level Custom Attribute:
- Navigate to Configuration > Attribute > Add Attribute.
- Select Shipment Package from the Attribute Group dropdown.
- Enter details (Name, Description, Data Type, Validation Rules).
- Save the attribute.
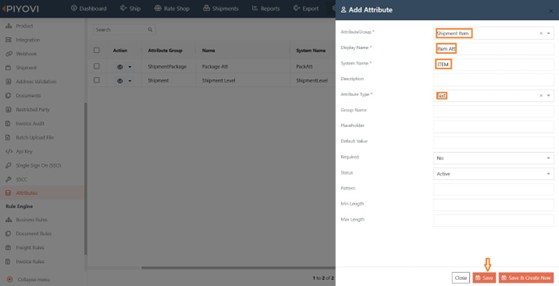
Creating an Item Level Custom Attribute:
- Navigate to Configuration > Attribute > Add Attribute.
- Select Shipment Item from the Attribute Group dropdown.
- Enter details (Name, Description, Data Type, Validation Rules).
- Save the attribute.
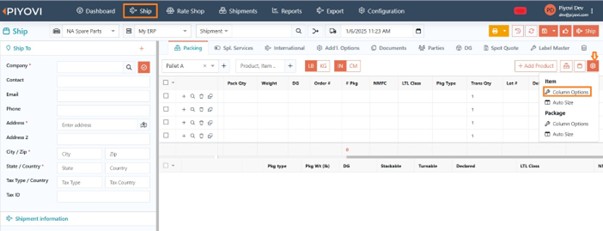
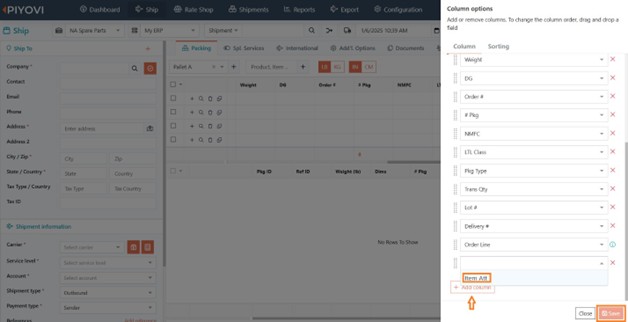
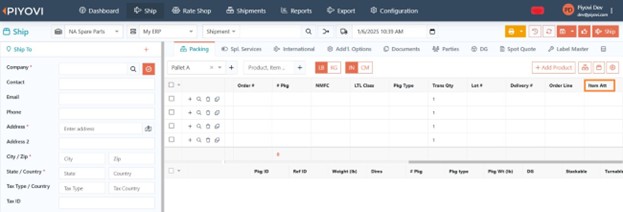
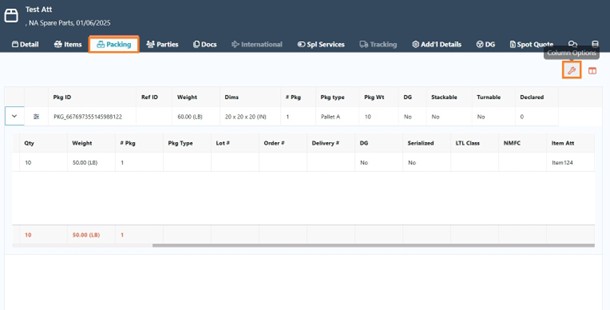
###Displaying Package and Item Level Custom Attributes in the Ship Screen
- Navigate to the Package on the Ship.
- Click on Settings (gear icon).
- Select Add Package Custom Attribute.
- The attribute appears as a column in the Package .
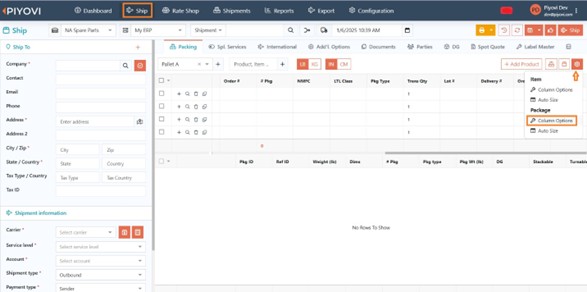


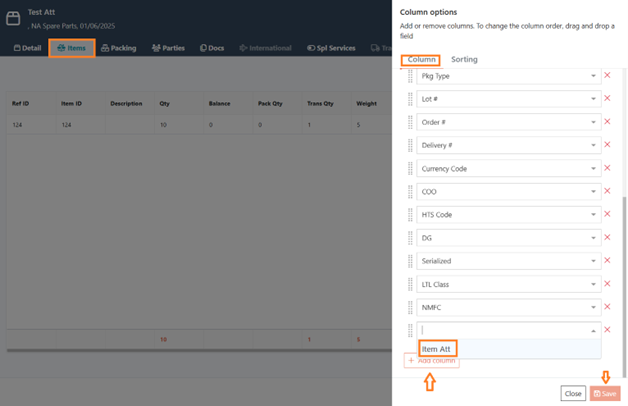
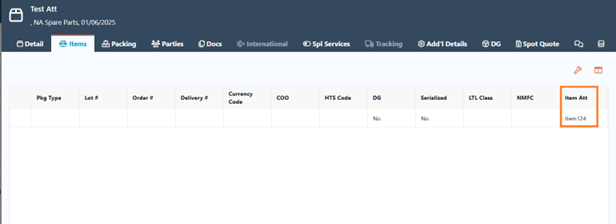
Add Item Custom Attribute to Ship Screen
- Navigate to the Item Section on the Ship Screen.
- Click on Settings (gear icon).
- Select Add Item Custom Attribute.
- The attribute appears as a column in the Item Section.
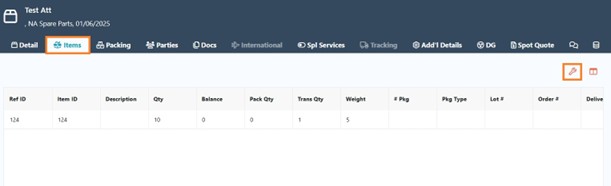
###Entering Data into Custom Attributes
####Item Custom Attribute Data Entry
- Locate the custom attribute column in the Item Section.
- Enter the appropriate data (text, number, or date).
####Package Custom Attribute Data Entry
- Locate the custom attribute column in the Package Section.
- Enter the necessary data for each package.
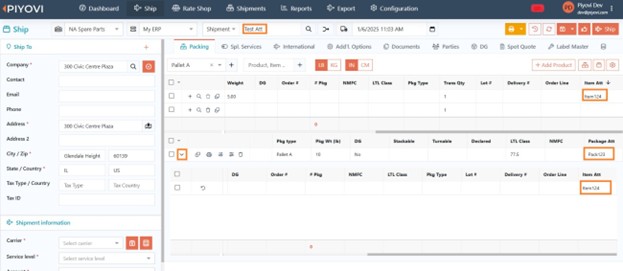
Once the shipment is successfully processed, Item attributes appear in the Item section, and Package attributes in the Package section.
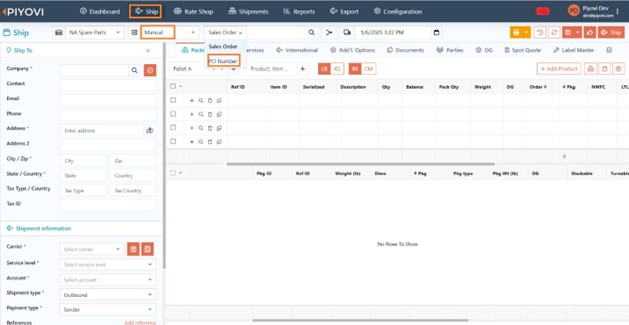
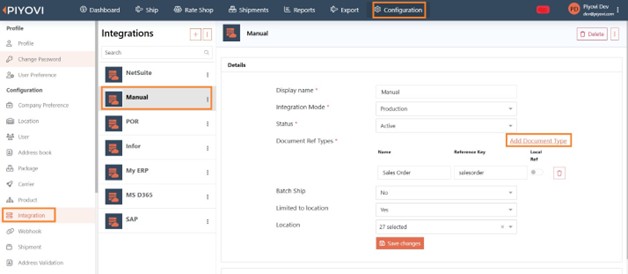
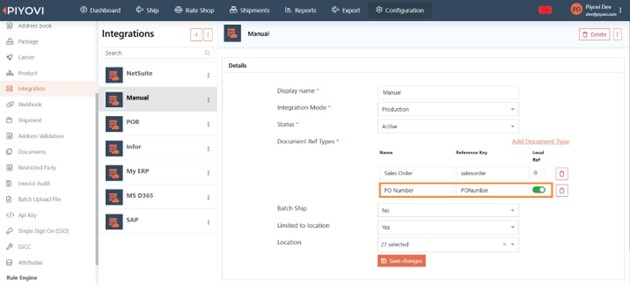
6. Search Shipment Based on Reference Values
Configuration:
- Navigate to the Configuration > Integration section.
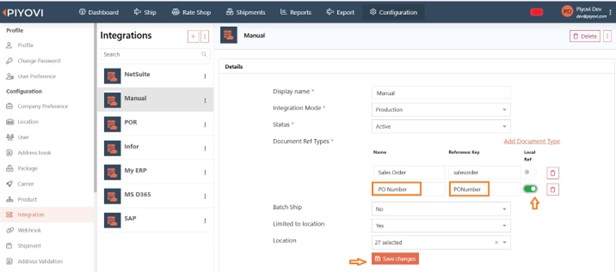
- Add a document:
- Enter Display Name (e.g., PO Number).
- Enter System Name (e.g., PONumber).
- Enable Local Ref as Active.
- Save the configuration.
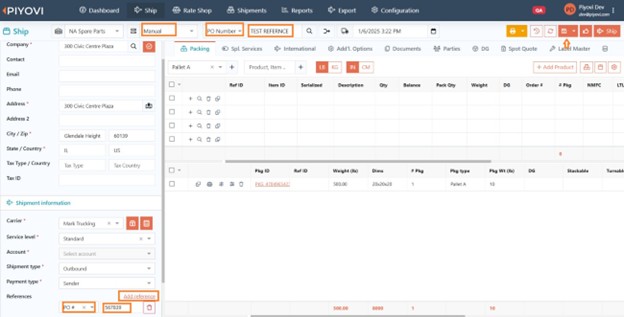
####Complete the Configuration Navigate to the ship screen and create a shipment (e.g., Test reference) in the PO Number field with the appropriate integration type (Manual) and document type (PO Number).
####Create the Shipment Enter the PO Number as the reference and save the shipment.
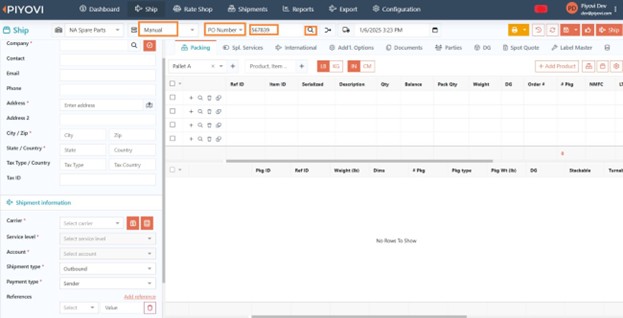
####Pull the Delivery
- Use the PO Number reference value instead of Delivery/Order ID with the specified integration type and document type.
- Hit enter to retrieve the shipment details.